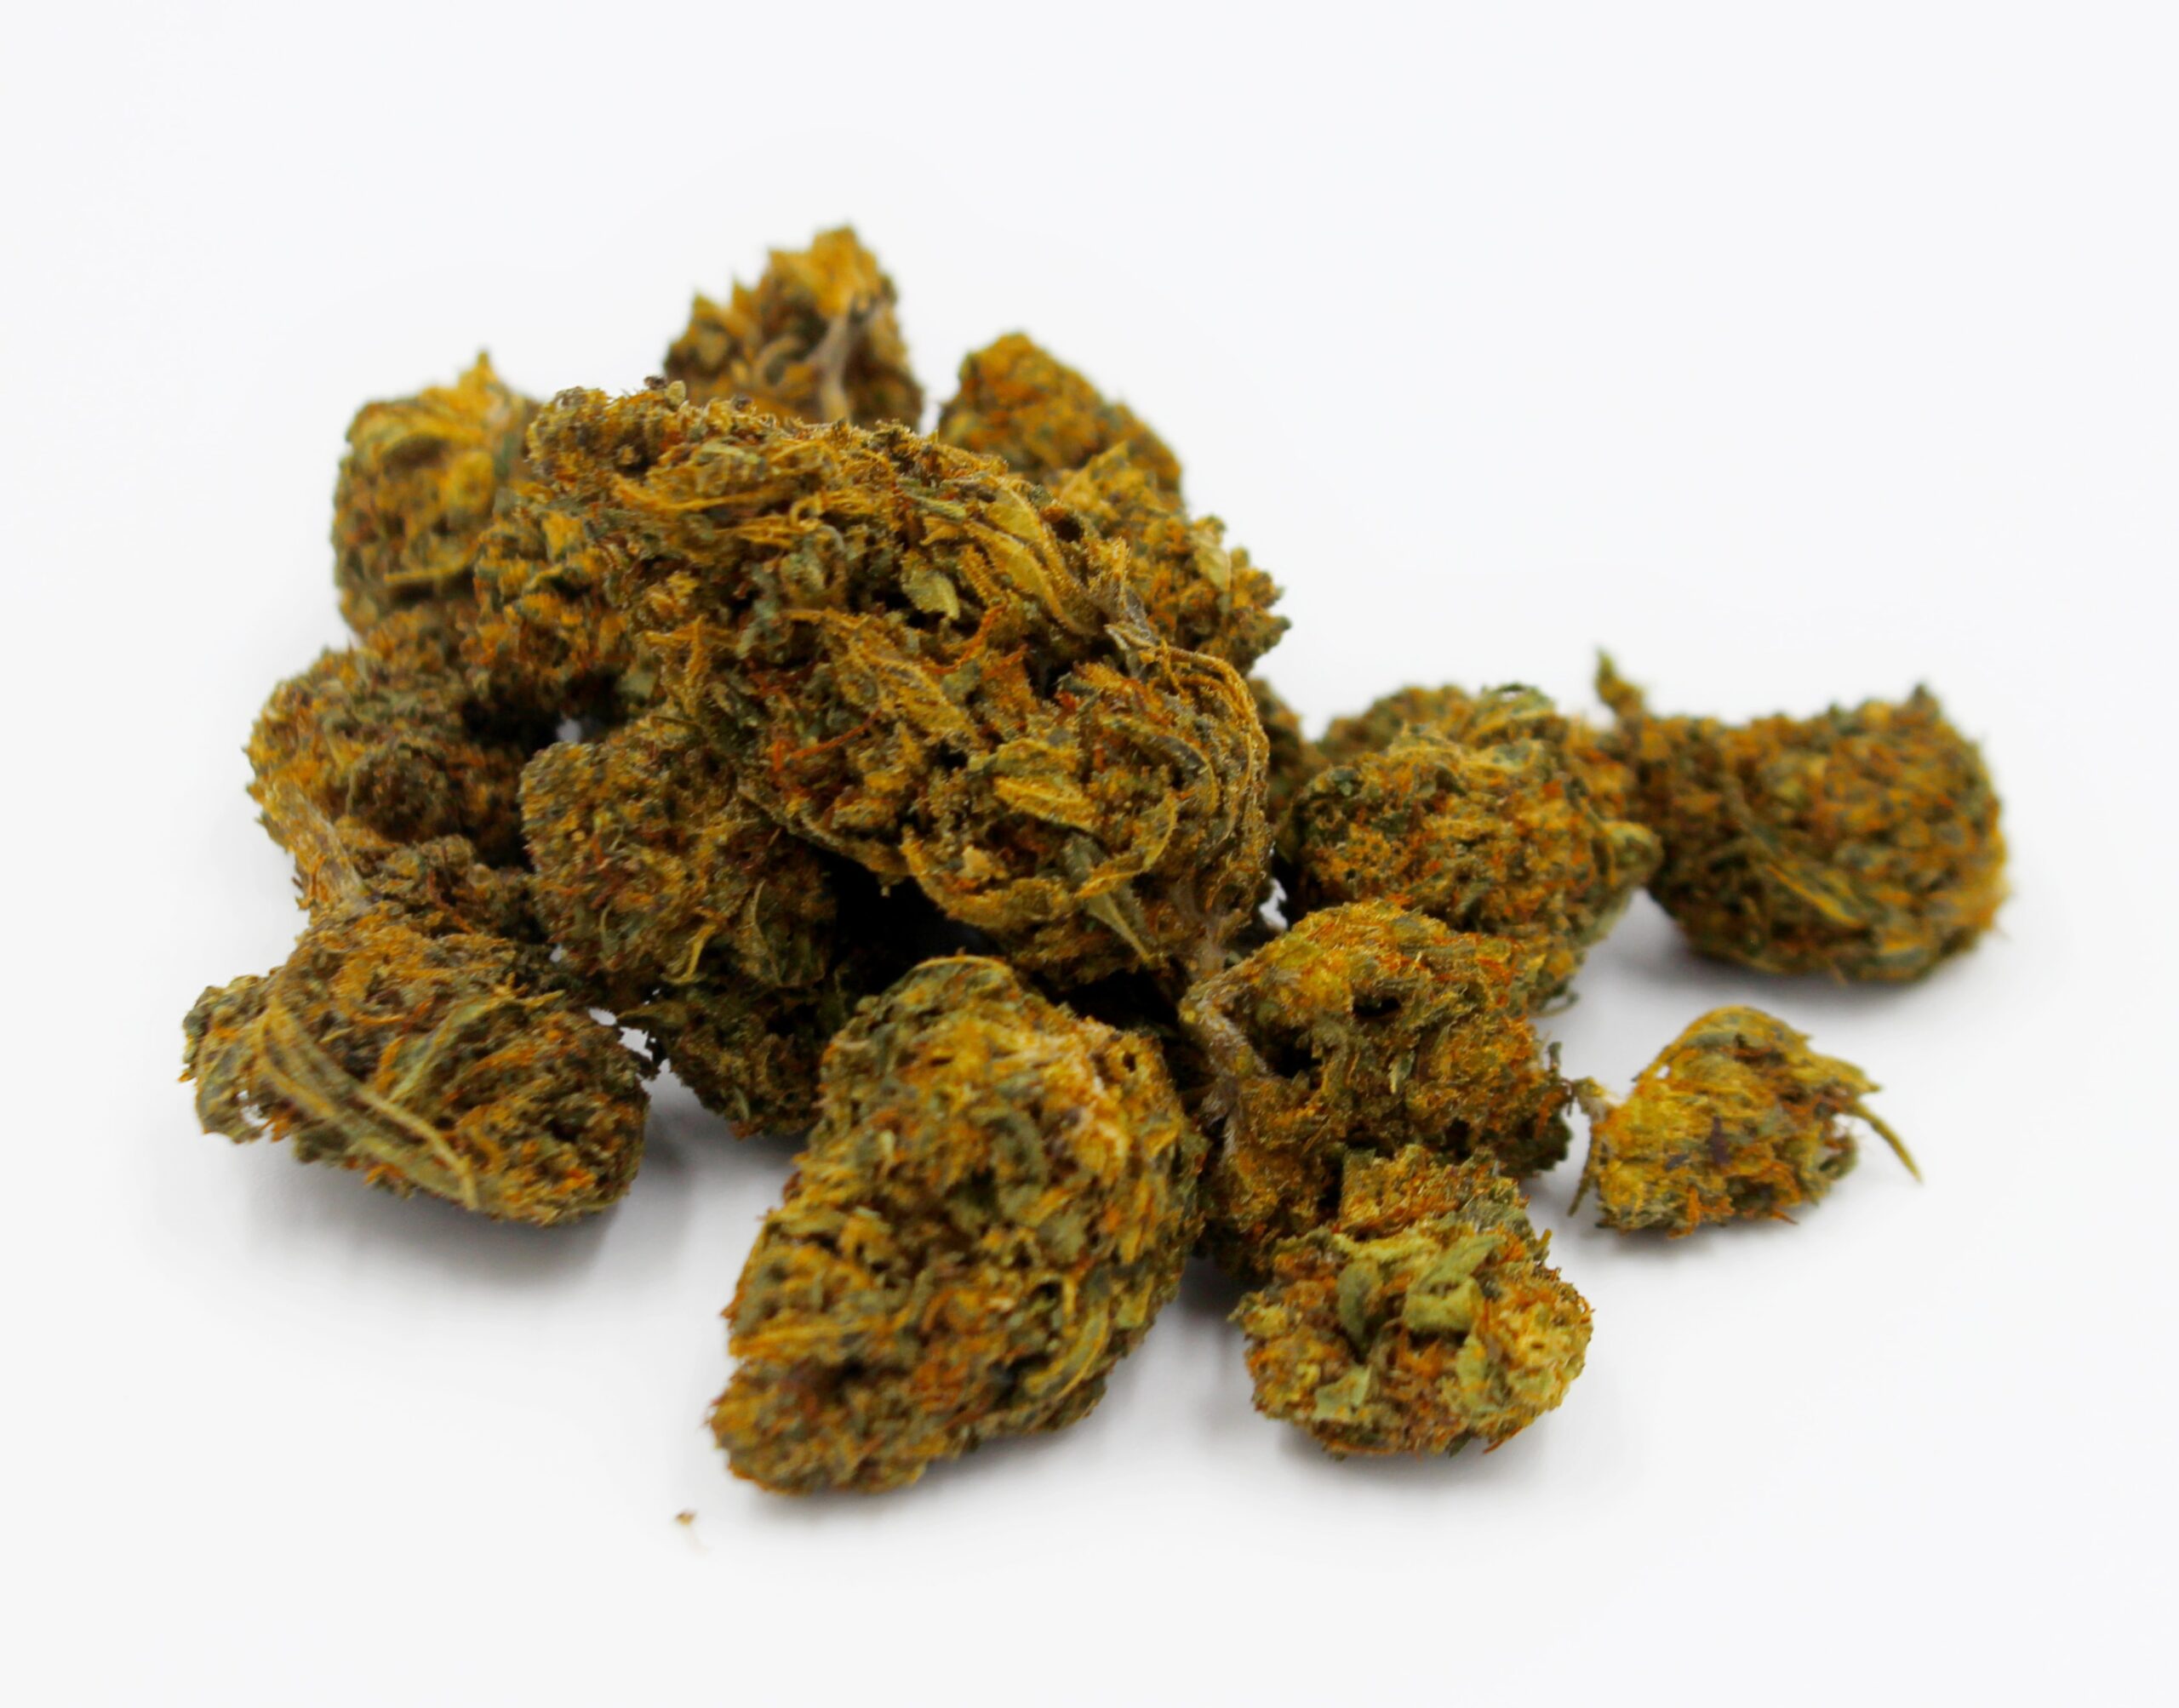


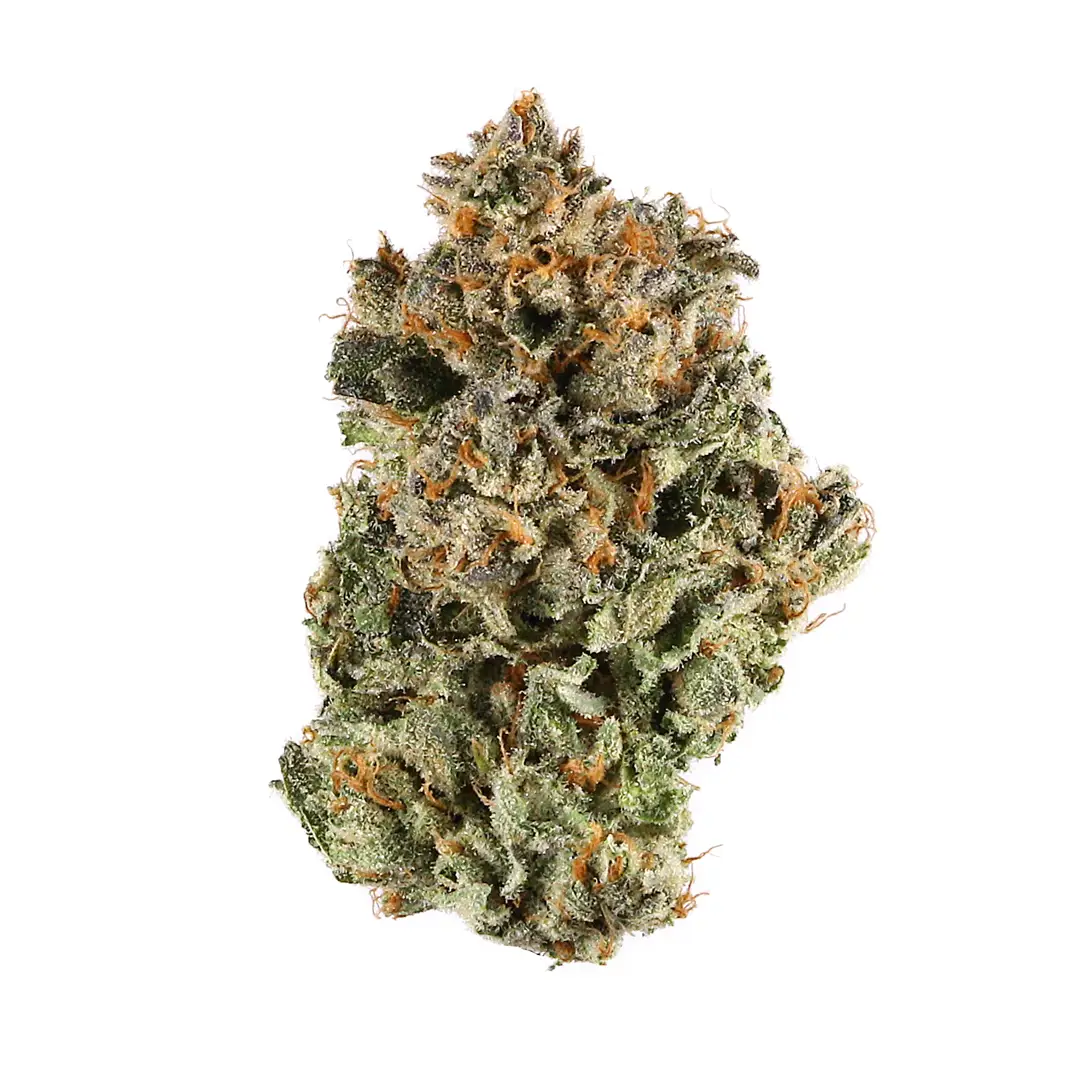
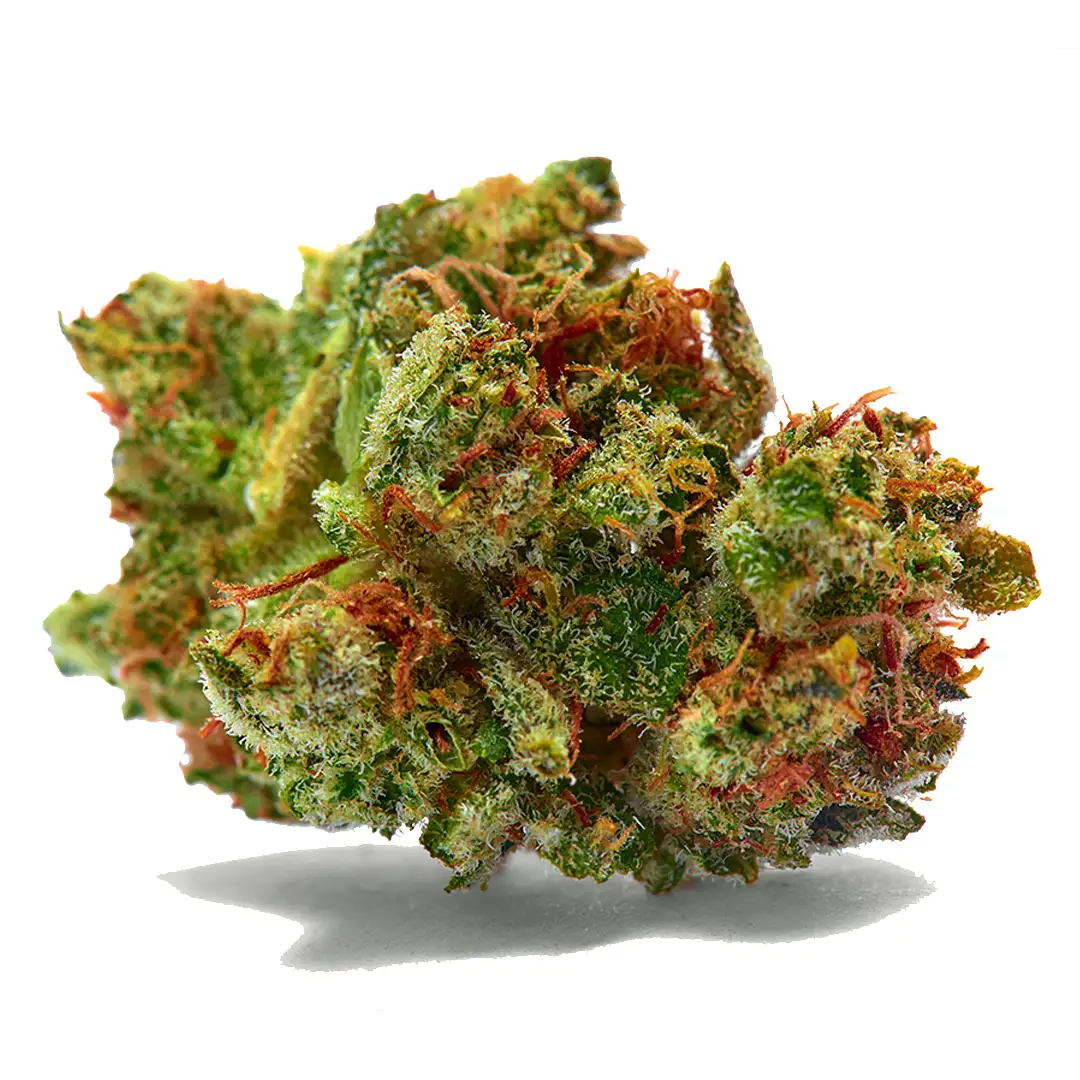
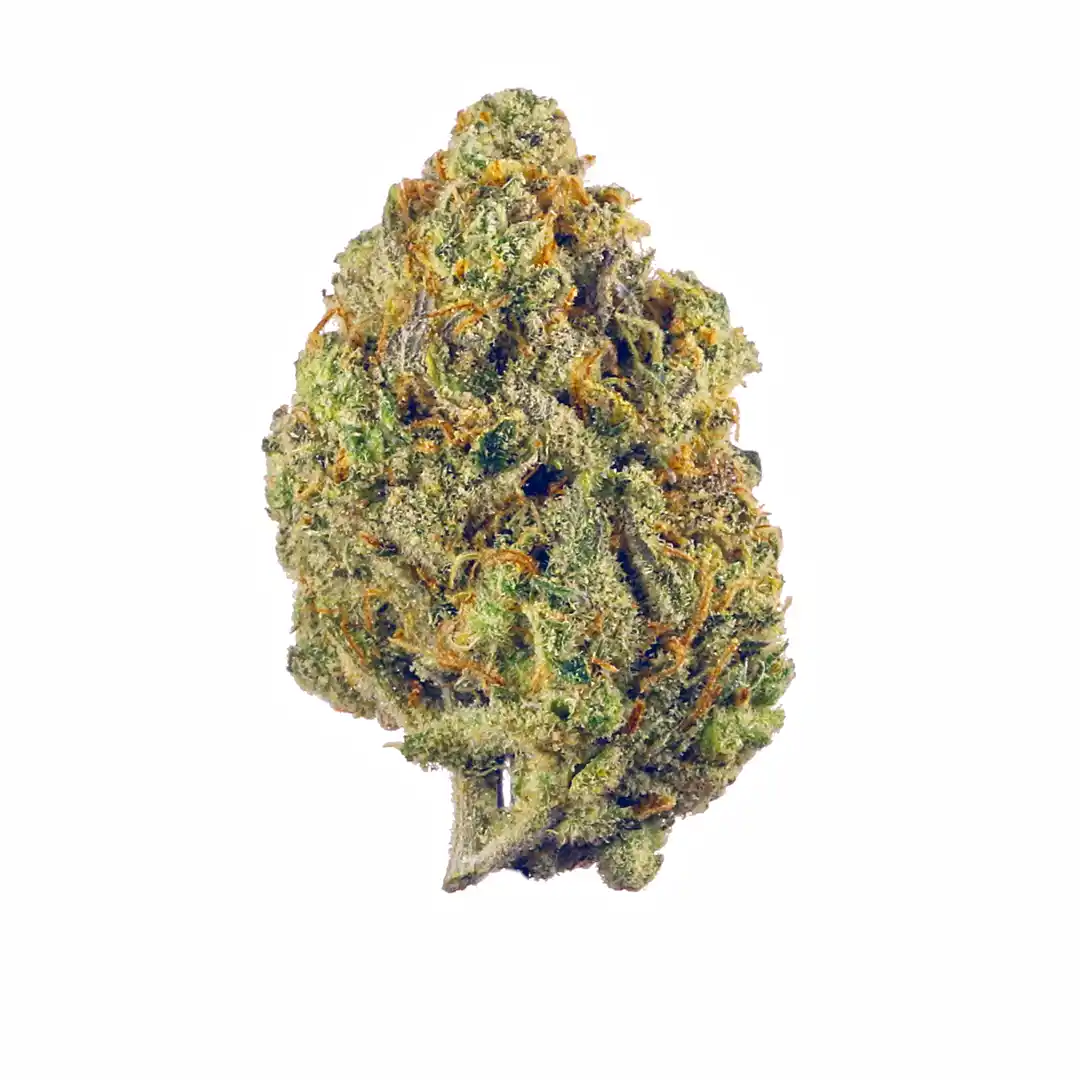
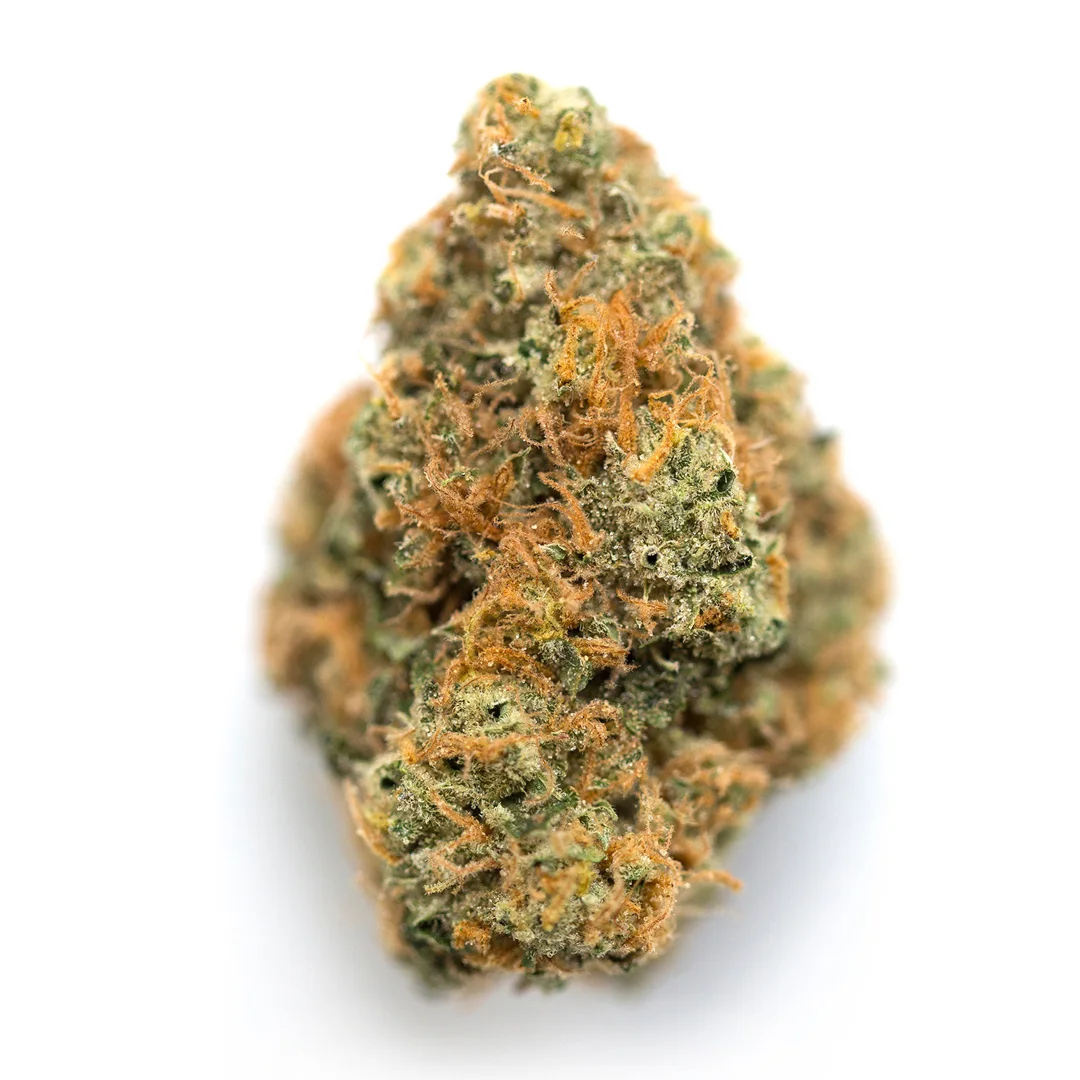


In this Iced Out Genetics blog post, we will learn the best methods for drying and curing your cannabis buds to improve the quality and potency of the final product & achieve the best results. Drying and curing your cannabis buds is an essential step in the cultivation process that ensures the highest quality and potency of your final product. Properly drying and curing can enhance the flavor, aroma and potency of your buds, and it can also help to prevent mold and mildew.
1st Step in Drying and Curing:
Drying and curing cannabis buds is to cut down the plant and remove any leaves. The buds should then be hung in a dry, dark, and well-ventilated area with a humidity level between 45-55%. It’s important to avoid direct sunlight and temperature fluctuations during the drying process. The drying process can take anywhere from 3-7 days, depending on the humidity and temperature levels.
2nd Step in Drying and Curing:
Preparing the drying room and select a space that is dark, cool, and has good airflow. Many growers prefer to use a tent for this purpose, as it’s easy to set up and control the environment. You can use the same ratchet straps you used for the grow lights to create a hanging line, and make sure to keep the room dark to prevent light damage to your buds.
3rd Step in Drying and Curing:
Set the humidity and light airflow in the drying room as it’s important to strike a balance. Keep the humidity at around 60% and make sure there is good airflow to circulate the air and allow the buds to dry evenly.. A humidity level of around 45-55% is ideal for drying cannabis buds, and the temperature should be between 68-72°F. To ensure the best results, it’s important to use a hygrometer to monitor the humidity levels in the containers. As for the airflow, you will want to ensure that there is enough air circulating to prevent mold or mildew from forming on your buds. You want the humidity to be low enough to dry the buds, but not so low that it causes the buds to dry out too quickly. The same goes for airflow – you want enough to circulate air and prevent mold, but not so much that it dries out the buds too quickly. A dehumidifier can be used to remove excess moisture from the air, but make sure it is not blowing directly on the buds as this can cause them to dry too quickly. A fan can also be used for airflow, but again, make sure it is not blowing directly on the buds.
4th Step in Drying and Curing:
A crucial tip when drying your buds is to make sure that you dry them passively. This means that you should allow the buds to dry naturally, without using external heat sources or blowing them dry with a fan. This means using a dehumidifier to suck moisture from the air, rather than from the plants. And when it comes to fans, use them for airflow, not to blow-dry your buds. This will ensure that the buds are dried slowly and evenly, which is crucial for maintaining their potency and flavor. This will help to preserve the quality of your buds and ensure the best possible results.
5th Step in Drying and Curing:
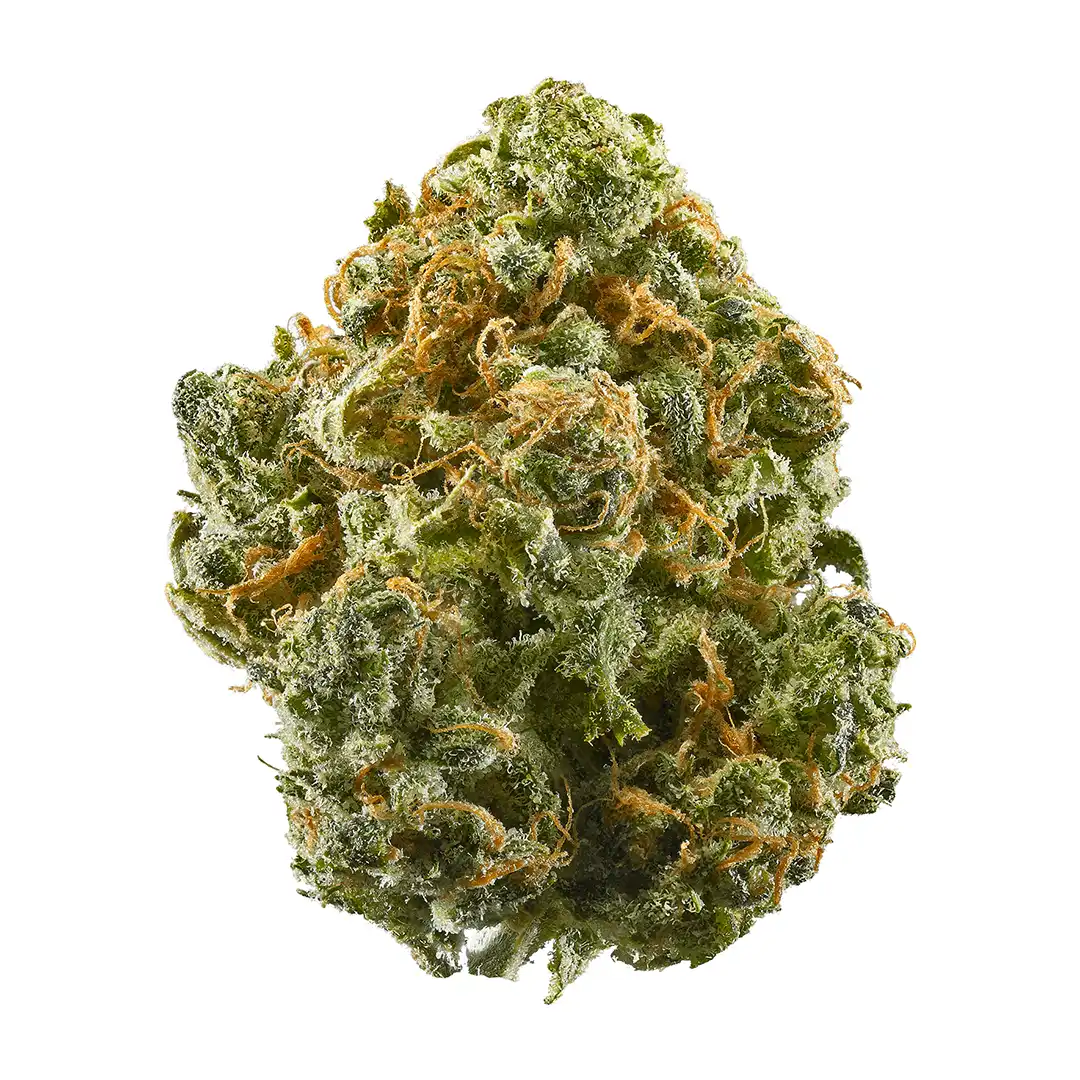
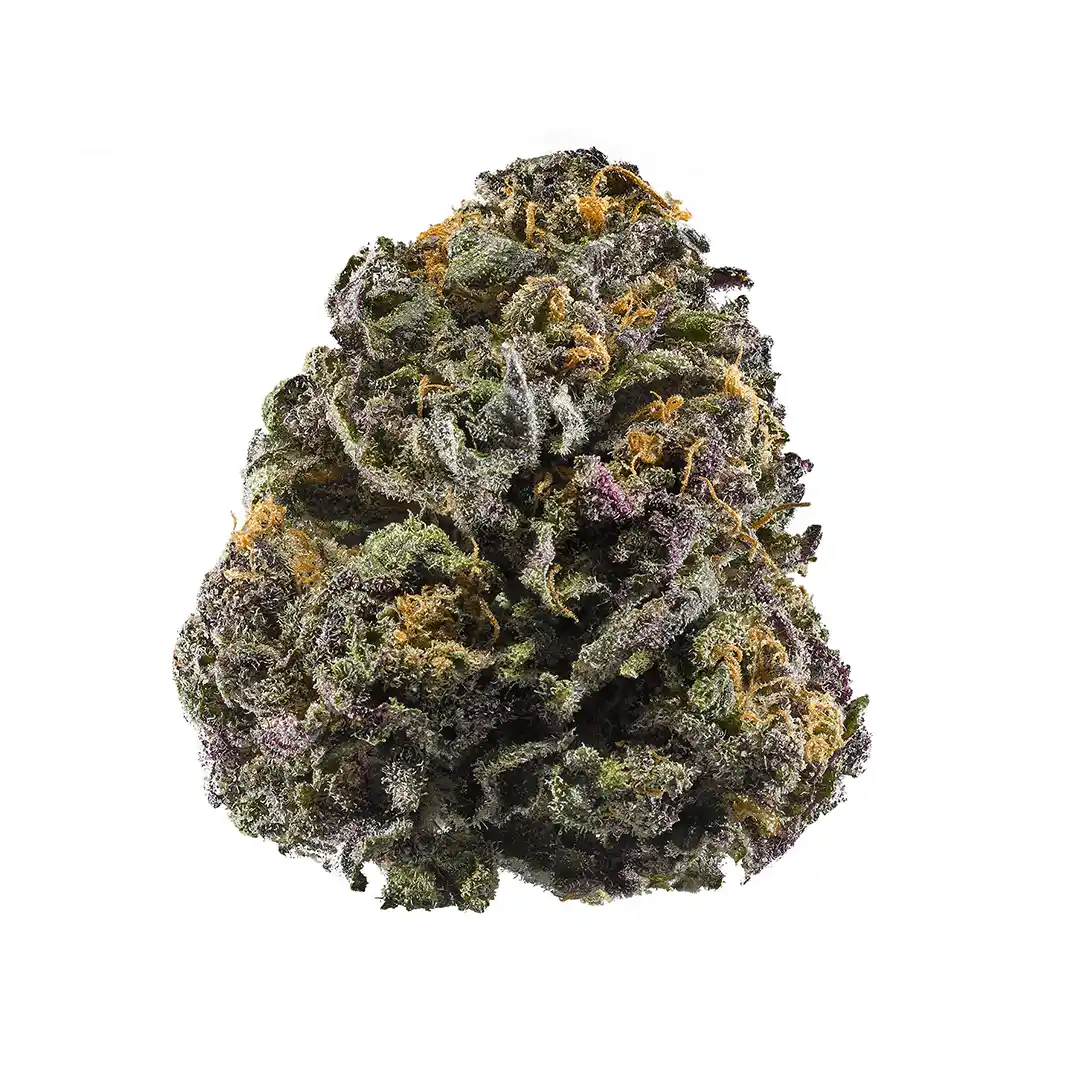
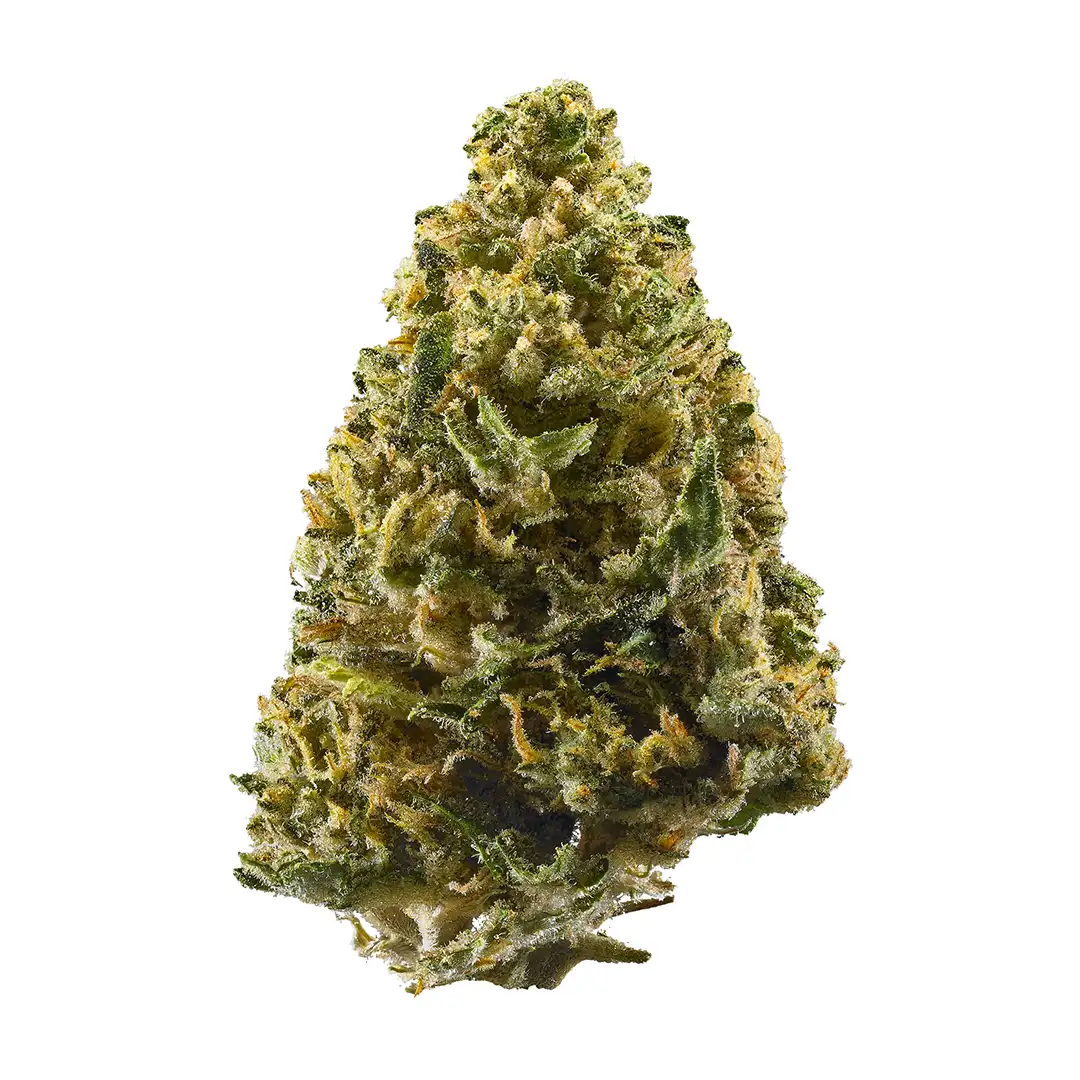
Once your buds are dried, the next step is to cure them. Curing is the process of allowing the buds to age and mature, which improves their overall quality and potency. The curing process can take anywhere from 2-8 weeks, depending on the humidity and temperature levels and it requires a steady humidity level between 60-65% and a temperature of around 70°F. Curing can be done by storing the buds in airtight jars and opening them periodically to allow them to breathe. This process can take several weeks to a few months, depending on the strain and the humidity level.
Overall, drying and curing cannabis buds is an essential step in producing high-quality marijuana. By preparing your drying room, controlling humidity and light airflow, and drying & curing your buds passively, you can ensure that your buds are of the best quality and potency.
If you are looking for expert breeder and wholesaler of genetically produced cannabis seeds, shop online with Epitome Seeds.